Vibe Coding Tool Selection: 3 Criteria That Differ Between Getting Started and Going to Production
English-language comparison articles on 'best vibe coding tools' flooded the web in June 2026, but no definitive Japanese guide existed. This piece organizes the dissonance of choosing your 'first tool' versus your 'production tool' by the same criteria — 3 conditions × 2 sets.
What you'll learn in this article
- The key point to grasp before reading the full article
- How the issue changes the way developers should work next
- Which follow-up article is worth opening next

Search “best vibe coding tools” and you’ll find a wave of English-language comparison articles that hit in June 2026. MarkTechPost lined up over a dozen tools, SitePoint followed with a similar format, and Ventureburn jumped in too. A Japanese-language breakdown with comparable depth still doesn’t exist.
For someone like me — running weekend projects with Claude Code — skimming those “ranked list” articles leaves a persistent sense of wanting more. The reason is simple: they give you tool names in a table without answering, “So which one do I actually try first?”
As an engineer who once quit coding out of frustration, I’ll tell you: the most valuable thing in a tool comparison isn’t the ranking. It’s the decision axis — “given my situation, I’ll try this one this weekend.” That’s ten times more useful than a number one pick.
By the end of this article, you’ll have decided three things:
- Which “entry tool” you’ll open this weekend
- Which “production tool” you’ll evaluate next month
- The order in which you’ll cross the bridge from entry to production
Today I’ll frame the tools listed in those overseas comparison articles into two categories: “entry tools” and “production tools.” As a reformed-quitter engineer, I want to articulate two separate standards: “designed so your first tool doesn’t make you drop out” and “designed so you don’t burn out using it every day.” This piece is for both people who are just starting with vibe coding — having AI write code from natural language — and those who’ve started and are considering switching tools.
English Comparison Articles Flooded June 2026. A Japanese Definitive Guide Didn’t Exist Yet.
Let me establish the context first. Starting in June 2026, a series of “Best vibe coding tools 2026” comparison articles went live in English-language media. MarkTechPost published a roundup covering over a dozen tools, with SitePoint and Ventureburn following with similar formats.
Meanwhile, no equivalent depth exists in Japanese. Search around and you’ll find individual tool intro articles, but the definitive “compare multiple tools and explain how to choose” piece is conspicuously absent. I’m not trying to be the first house on the block just for the sake of it — but if readers are struggling in a particular area, it’s worth filling the gap.
Let me declare my position upfront. My goal isn’t to add another tool-list article to the pile. In fact, I find comparison articles that end with nothing but tool names frustrating. I’ve lived firsthand how picking the wrong first tool completely kills motivation — I’m the person who stepped away from coding once because of it.
The reason I put “3 criteria” in the title is because I wanted this to be about decision-making axes, not a list of tool names. Rather than pushing the number-one-ranked tool on readers who want to start vibe coding, I want to hand them a ruler they can use to match their own situation.
One thing I’ll say upfront as a former quitter: “the single best tool” doesn’t exist. What does exist is “the one you open first” and “the one you open every day.” These two need to be chosen by different criteria. That’s the central theme today.
Why the “Compare Everything on One Table” Approach Feels Wrong
Reading through overseas comparison articles, what catches my eye is that Cursor, Lovable, and Claude Code sit in the same table. Sure, they all involve having AI write code — broadly speaking, all “vibe coding” tools. But in my experience, these three tools belong in completely different situations.
Cursor is for people who live in their IDE (Integrated Development Environment) every day. It’s built to be trusted on production projects. Lovable operates on the premise of “assemble the finished product visually, then extract the code,” making the psychological barrier to first launch remarkably low. Claude Code starts from a terminal directly in your project — if you’re not used to it, the first 30 minutes are a steep incline.
Laying these side by side produces a “feature comparison.” But what readers want isn’t features. They want to know: “If I open this next weekend, what happens to me specifically?” Feature comparisons offload all the work of personal application back onto the reader.
Worth recalling here: I once wrote about Lovable security vulnerabilities. There were reports of security holes in some Lovable-built apps. My conclusion was: “Lovable is an entry tool — if you’re bringing production-level thinking to it, you need to switch to a different tool.” My position hasn’t changed.
Simply recognizing “entry” and “production” as distinct categories splits your evaluation criteria in two. Ditch the one-table-15-tools framing. That shift in mindset is the most important thing I want to convey today.

The 3 Criteria for Entry Tools: “Minimize the Psychological Cost of Failure”
I’ve narrowed the criteria for entry tools to three. These are the axes I always verify when I tell a reader “try just this one next weekend.”
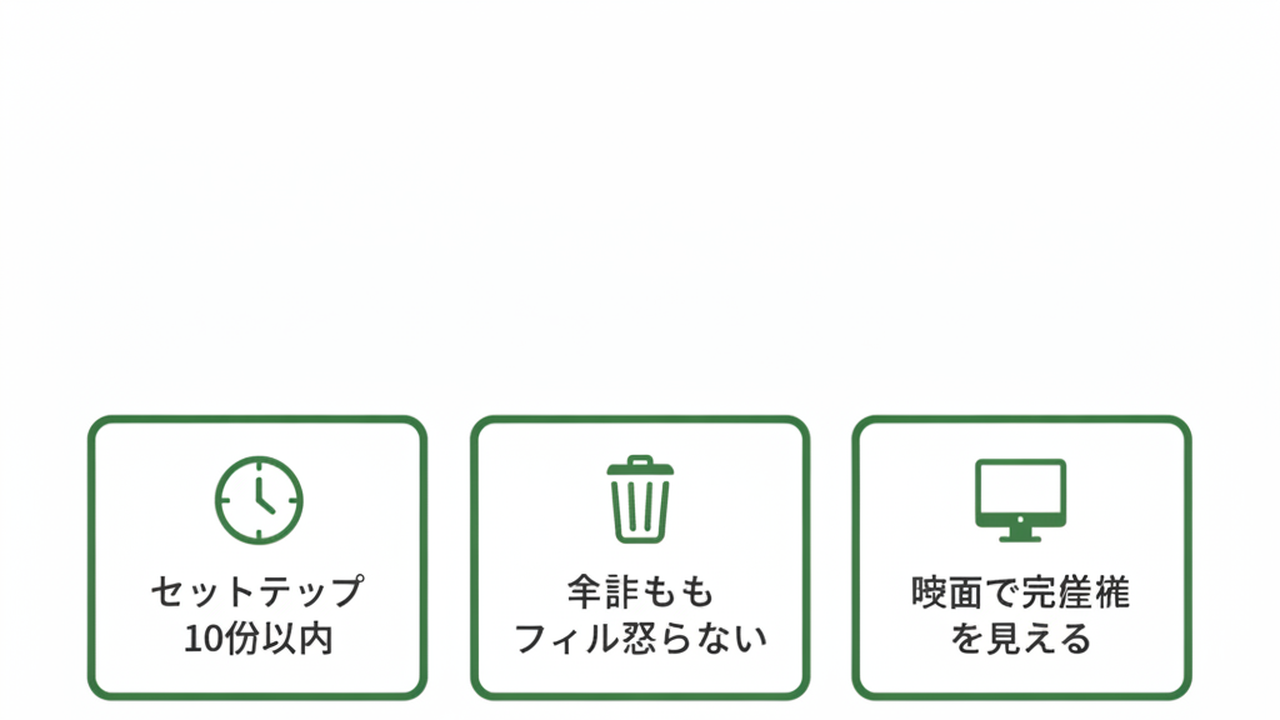
Criterion 1: Setup completes within 10 minutes. Lovable, Bolt.new, v0, and Replit Agent all meet this bar. From opening a browser to creating an account to typing your first prompt (the instruction you give the AI) is genuinely brief. I once dropped out mid-setup when the first 30 minutes disappeared into account creation and environment configuration. That’s why 10 minutes is the minimum threshold.
Criterion 2: Failed experiments don’t leave files behind. This matters more than it sounds. Tools that download files to your local machine create a “now I have to clean this up” pressure the instant something goes wrong. A tool that lives in the cloud and lets you delete failed experiments cleanly keeps the psychological cost low.
Criterion 3: You can see the finished product on screen. For people starting out who aren’t comfortable reading code, a tool with a live preview built in feels fundamentally different. Lovable is the prime example. You can verify what you’ve built visually — “ah, so that’s what this does” — and then peek at the underlying code underneath. The order matters.
All three criteria connect to the same goal: minimize the psychological cost of failure. The probability that someone who quits on the first tool moves on to a second is shockingly low. So choose your entry tool by psychological cost first. This is the biggest difference from professional engineer comparison articles.
Here’s how I’d rank four concrete tools based on my hands-on experience:
| Tool | Time from launch to first prompt | Files left after failure | Screen preview |
|---|---|---|---|
| Lovable | ~5 min | None (cloud-based) | Yes (real-time) |
| Bolt.new | ~5 min | None (cloud-based) | Yes (real-time) |
| v0 | ~7 min | None | Yes (component-level) |
| Replit Agent | ~10 min | Yes (saved on Replit) | Yes |
These numbers are my subjective estimates — read them as ballpark figures. Sorting by “how well they meet the 3 entry criteria as of June 2026” puts Lovable and Bolt.new at the top, v0 in the middle tier, and Replit Agent just behind.
One trap worth flagging in advance: starting with the assumption that “the free tier covers everything” often leads to hitting a paywall on day three and losing momentum. I experienced this with v0. Spending just three minutes scanning the pricing page before you start is unglamorous but effective. Noting something like “free up to 20 projects” or “10 prompts per day on free” gives you visibility into how many tries you have left — and prevents the sudden wall.
The 3 Criteria for Production Tools: Can You Build in Failure Detection and Recovery?
Once you get a feel for an entry tool — “okay, I think I can keep doing this” — you move to a production tool. The 3 criteria for production tools are entirely different. Shift your mindset away from minimizing psychological cost of failure, and toward evaluating whether failure detection and recovery pathways are built in.
Criterion 1: The tool can handle diffs. In a real project, you’re not rewriting entire files every session — you’re changing specific lines. A workflow that shows you the diff (a view of what changed) before applying it limits the damage when AI goes rogue. Cursor, Claude Code, Windsurf, and GitHub Copilot Workspace all have this built in as standard.
Criterion 2: A second pair of review eyes is built into the workflow. In June, Cursor introduced a feature called Bugbot that standardizes having a separate agent automatically review your diffs, as reported by WIRED. In a production tool, I want something that gets me out of the “I write it, I review it” loop.
Criterion 3: The tool has protocols for working on a team. Using it solo is one thing — but when others join, whether you can share configuration files and prompt history starts to matter. Claude Code is strong here. As covered in the case study on company-wide Claude Code deployment designed by KAG, it has design that presupposes organizational use.
These 3 criteria all point to: does the tool have failure detection and recovery paths built in? “Designed not to fail” (entry tools) versus “designed to surface failure fast” (production tools) require completely different mental models. Throw them in the same table and the difference disappears.
Let me also share a pitfall from my production tool experience. There was a period I used Cursor without first writing the project config file (.cursorrules). I was re-typing the same instructions every session — and it accumulated into real fatigue. Writing something like this once is all it takes:
# Project assumptions
- Language: TypeScript (strict mode)
- Framework: Next.js 14 (App Router)
- Styles: TailwindCSS
- Testing: Vitest
# AI instructions
- Prioritize reusing existing utils
- Always search for similar existing files before creating new ones
- Keep diffs minimal; don't mix in unrelated refactors
With this file in place, Cursor reads it before every generation. One day of setup work dramatically changes your fatigue level a month from now. Production tools are the kind where time invested in configuration pays off the following month — the exact opposite of entry tools, whose appeal is requiring no configuration at all.
The “Bridge” from Entry to Production Still Goes Untalked About in Japan
Here I want to address a Japan-specific gap. Digging deeper into overseas comparison articles, you start seeing pieces on the “bridge” from entry tools to production tools: taking a prototype built in Lovable, exporting it, and finishing it in Cursor or Claude Code.
Japanese-language articles haven’t really covered this bridge yet. The likely reason is that entry tools themselves haven’t been widely tested here. Engineer-facing comparison articles tend to end with the Cursor/Claude Code/Copilot trio. Non-engineer articles, meanwhile, stop at Lovable or Bolt.new demo showcases — leaving the space in between vacant.
What I want to write about is a road guide for people crossing that bridge. Here’s a sequence I can imagine:
First weekend: build a small web app visually to completion in Lovable or Bolt.new. Second weekend: export that code, load it into Cursor. Ask Cursor to “flag the three most suspicious spots in this code.” Pick one from what it returns — one that gives you a gut feeling of “yeah, that does seem sketchy” — and actually fix it. Working through that fix is when “oh, so this is what writing code means” clicks as a physical sensation.
After crossing the bridge once, the idea that entry and production tools are different objects becomes embodied rather than abstract. At the same time, you’ll know which one you want to use primarily. For me, production is primary and entry tools are dedicated to prototyping. For you, it might be the reverse. Either order works fine.
The reason I — someone with a CS background who’d stepped away from coding — was able to come back is that I’d crossed this bridge once. If I’d jumped straight into a production tool without it, I probably would have quit again. Just knowing the bridge exists lowers the difficulty of re-entry by one level.
For non-engineer readers, Claude Code: 8 Use Cases for Non-Engineers covers the entry point on the production tool side. Reading it before and after crossing the bridge from an entry tool lets the concepts connect as a continuous story.
Here’s one more level of specificity on crossing the bridge — down to the command level. When you export the web app you built in Lovable using the “Export Code” menu, you get a ZIP file download. Extract that into a working folder, navigate to it in a terminal. Open that folder in Cursor via File > Open Folder and the import into the production tool is done.
Type this into Cursor’s chat:
Find every place in this project where external user input is passed directly into a database operation. For each occurrence, note the assumed risk in one line.You’ll typically get 3 to 5 findings back. Pick one — specifically one that gives you a gut instinct of “this does feel wrong” — and actually fix it.
Going through this experience once leaves you with a visceral sense of what quality code from an entry tool looks like, and how a production tool can reinforce it. No amount of written explanation beats crossing the bridge once.

This Week’s Move: Write Out “Entry” and “Production” on One Sheet of Paper
A tool comparison article is worthless if it doesn’t land on a concrete action. My suggestion for this week’s one move: write your “entry tool” and “production tool” on a single sheet of paper. It takes 15 minutes.
On the left half, list three “entry tool candidates.” Choose three from Lovable, Bolt.new, v0, and Replit Agent. For each, mark ○ or × against the three criteria: “setup under 10 minutes,” “failed experiments don’t leave files,” “screen preview available.”
On the right half, list three “production tool candidates.” Choose three from Cursor, Claude Code, Windsurf, GitHub Copilot, and Copilot Workspace. For each, mark ○ or × against the three criteria: “can handle diffs,” “has a second review layer,” “can plug into a team.”
When you’re done, circle one from the left three and one from the right three. That’s your “entry pick for this weekend” and your “production pick to evaluate next month.”
The point of writing this out is to narrow your options. Mentally juggling 15 tools brings decision-making to a halt. The moment you write two names on paper and circle them, the human brain wants to try them. This is a small trick I use repeatedly when building my own work tools.
One note from a recovered-quitter engineer: the people who think “I want to try all of them” before writing anything down are precisely the ones who end up trying nothing after two weeks. Spending time mentally comparing 15 tools gives you ten times less than actually opening one of the two you’ve circled.
Summary
Let me compress everything into three lines.
First: overseas “best vibe coding tools” articles put entry tools and production tools in the same table. There’s no need to replicate that confusion in Japanese-language coverage.
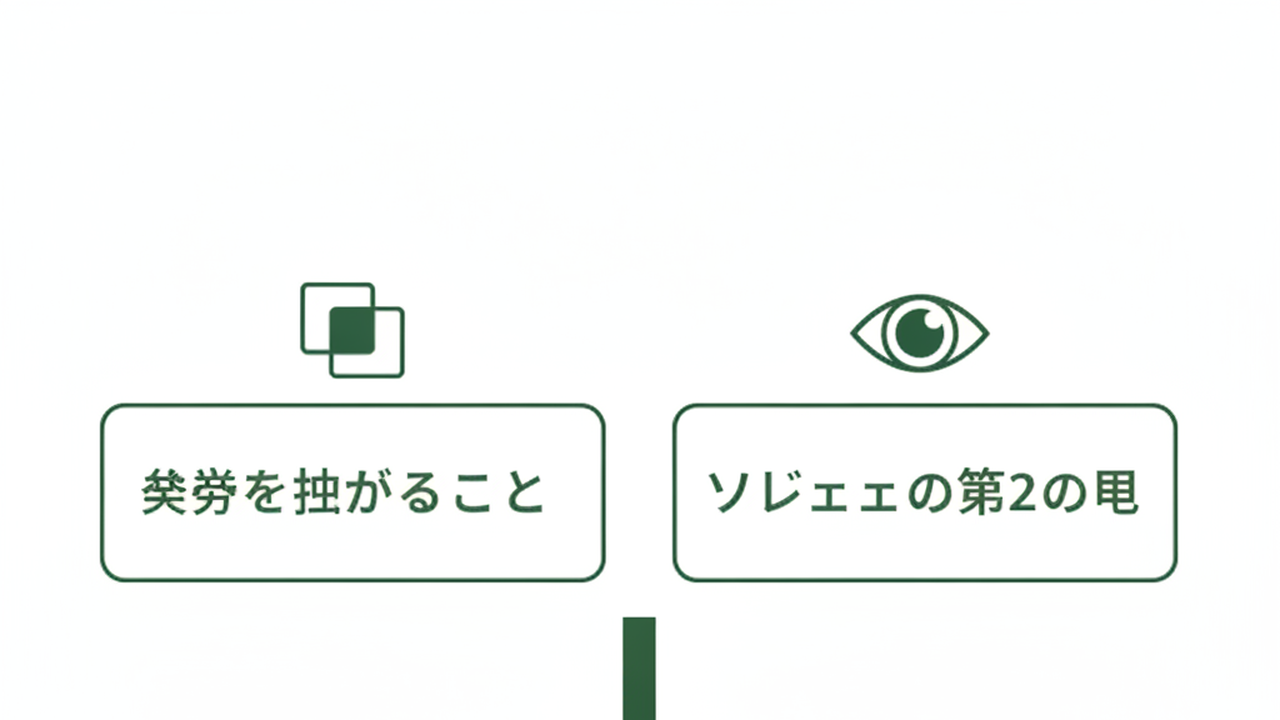
Second: apply “setup in 10 minutes / no leftover files from failures / screen preview” as the 3 entry-tool criteria. Apply “handles diffs / has a second review layer / can integrate with a team” as a separate, distinct 3-criterion standard for production tools.
Third: this week’s move is to write “your one entry pick” and “your one production pick” on a single piece of paper. It takes 15 minutes. Trade the time you’d spend mentally ranking 15 tools for time spent opening the two you chose.
One more point worth adding: set a cap on how much total time you invest in tool comparison — before you start. My approach was “first week is research; week two, hands start moving.” The reason I cut off comparison at one week is simple: tools are learned by touching them. Reading the spec sheet in your head first and then touching the tool gives you a fraction of the comprehension speed you get from touching it for 5 minutes and then reading the spec sheet.
Entry tools especially are like this — the “oh, so that’s what this does” click only comes after you’ve opened the screen. Spending two weeks saturating your head with comparison articles beats going out every time by the 5 minutes you spend opening one tool, because the next action becomes clear the moment you do.
One last word from Gen, the reformed quitter. The first step back to coding for someone who walked away isn’t adding more tools — it’s setting up the conditions to try. Write the paper today and your hands will be moving next weekend. Once your hands are moving, time spent touching your own project dwarfs time spent reading tool comparison articles by an order of magnitude. That’s when the first failure becomes a distant memory. The experience of a top-tier engineer taking root inside you doesn’t begin at the tool-selection stage. It begins the moment you start touching something.

正直、一度エンジニアは諦めました。新卒で入った開発会社でバケモノみたいに優秀な人たちに囲まれて、「あ、私はこっち側じゃないな」って悟ったんです。その後はカスタマーサクセスに転向して10年。でもCursorとClaude Codeに出会って、全部変わりました。完璧なコードじゃなくていい。自分の仕事を自分で楽にするコードが書ければ、それでいいんですよ。週末はサウナで整いながら次に作るツールのこと考えてます。